

 English








































Walk-In Shower Installation Guide for Homeowners
-
Admin_Renovators / 5 months
- April 10, 2026
- 0
- 4 min read

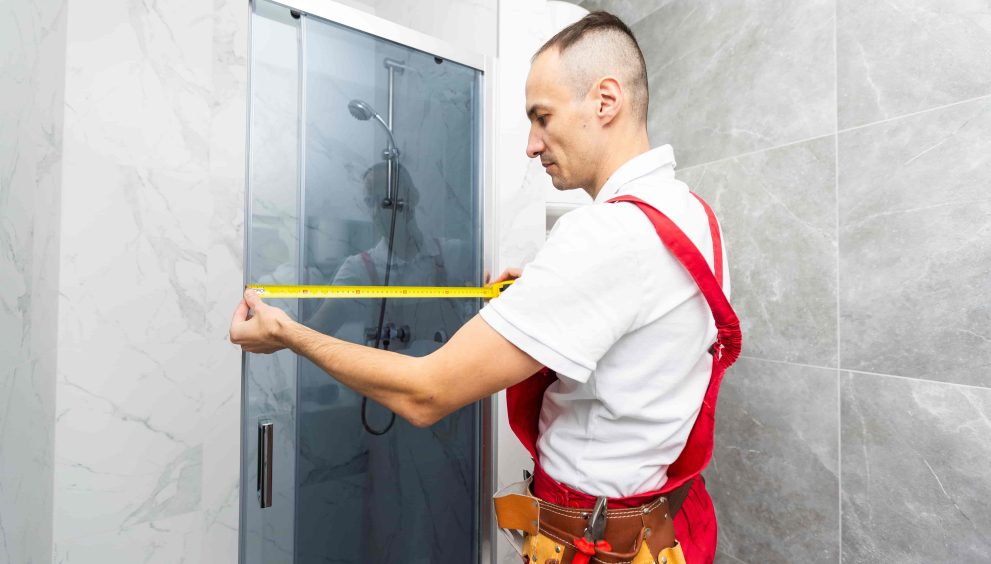
Walk-in showers have become one of the most popular upgrades in modern bathroom design. They offer a sleek, open look, improved accessibility, and a spa-like experience that fits both small and large bathrooms. For homeowners planning a bathroom renovation, understanding the walk-in shower installation process is essential for achieving a durable, stylish, and leak-free result.
This guide will walk you through everything you need to know about walk-in shower installation—from planning and preparation to step-by-step construction and finishing details.
1. Why Choose a Walk-In Shower?
Before starting installation, it’s important to understand why walk-in showers are so popular.
Key benefits:
- Modern, luxury appearance
- Easier access (ideal for all ages)
- Makes small bathrooms feel larger
- Easier to clean than traditional tubs
- Customizable design options
Walk-in showers are especially popular in urban homes and modern renovations because they create a seamless, open layout.
2. Planning Your Walk-In Shower Design
Proper planning is the most important step in installation. A well-designed shower ensures functionality, comfort, and long-term durability.
Consider the following:
- Shower size and layout
- Drain location
- Water supply lines
- Glass enclosure style (frameless or framed)
- Wall material (tile, stone, or panels)
Also decide whether you want a fully open shower or one with a glass partition. Fully open designs look luxurious but require excellent drainage planning.
3. Prepare the Bathroom Space
Before installation begins, the bathroom must be properly prepared.
Preparation steps:
- Remove old shower or bathtub
- Inspect plumbing and drainage system
- Ensure walls and floors are level
- Repair any water damage or leaks
- Install proper waterproof backing
Waterproofing is critical. A walk-in shower must have a sealed, moisture-resistant base to prevent long-term structural damage.
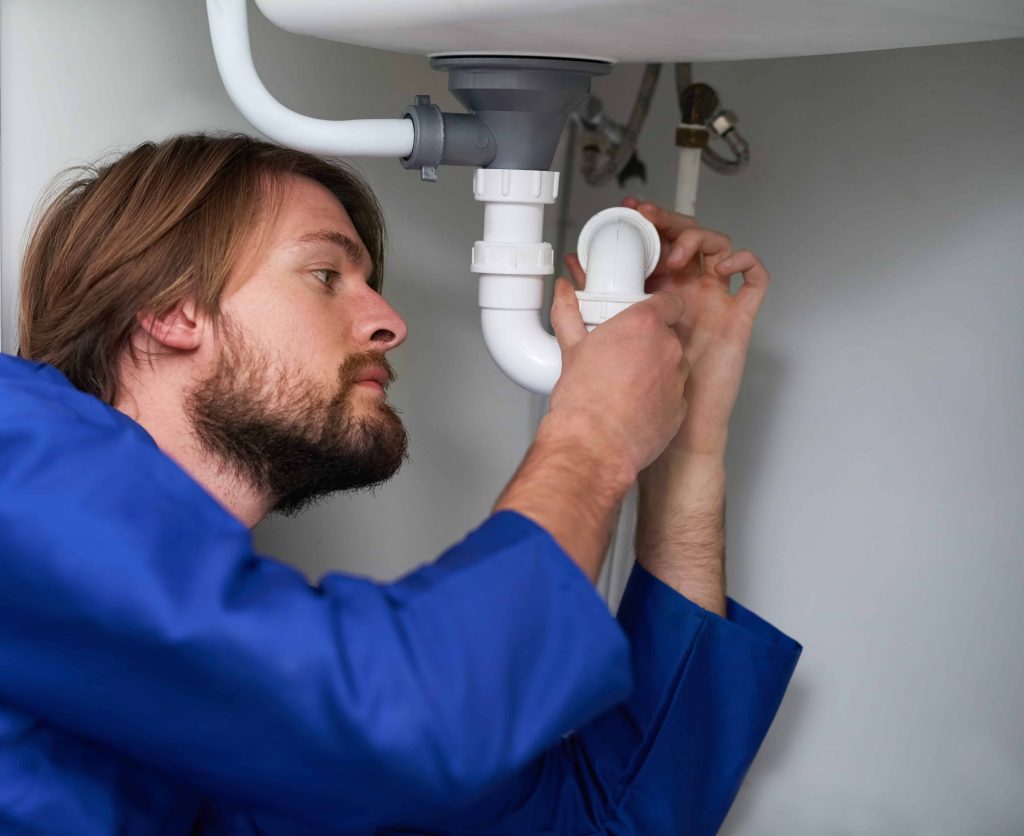
4. Install Proper Shower Drain System
A high-quality drainage system is essential for a walk-in shower.
Common options:
- Linear drain (modern and stylish)
- Center drain (traditional option)
A sloped shower floor must be created so water naturally flows toward the drain. Without proper slope, water pooling and leakage can occur.
Professional installers typically create a “pre-slope base” using mortar or specialized shower pans.
5. Waterproof the Shower Area
Waterproofing is one of the most important steps in installation.
Methods include:
- Waterproof membranes (liquid or sheet systems)
- Cement backer boards
- Waterproof shower pans
All walls and floors inside the shower area must be fully sealed. Even small gaps can lead to mold, mildew, and long-term damage.
6. Install Wall Backing and Structure
Once waterproofing is complete, the next step is installing the wall structure.
Materials used:
- Cement boards
- Waterproof drywall alternatives
- Metal framing (if needed)
These materials create a strong base for tile or stone installation. Ensure all panels are securely fastened and properly aligned.
7. Tile or Wall Finish Installation
Now comes the visual design stage—installing tiles or wall finishes.
Popular options:
- Ceramic or porcelain tiles
- Natural stone (marble, granite, travertine)
- Large-format slabs for a seamless look
Installation tips:
- Start from the bottom and work upward
- Use waterproof adhesive
- Maintain even spacing with tile spacers
- Apply grout after tiles are set
Large tiles are trending because they reduce grout lines and create a clean, modern appearance.
8. Install Shower Fixtures
Once walls are complete, it’s time to install plumbing fixtures.
Essential fixtures include:
- Shower head (rainfall or standard)
- Handheld shower wand
- Mixing valve for temperature control
- Wall-mounted controls
Modern walk-in showers often include dual shower systems for a more luxurious experience.
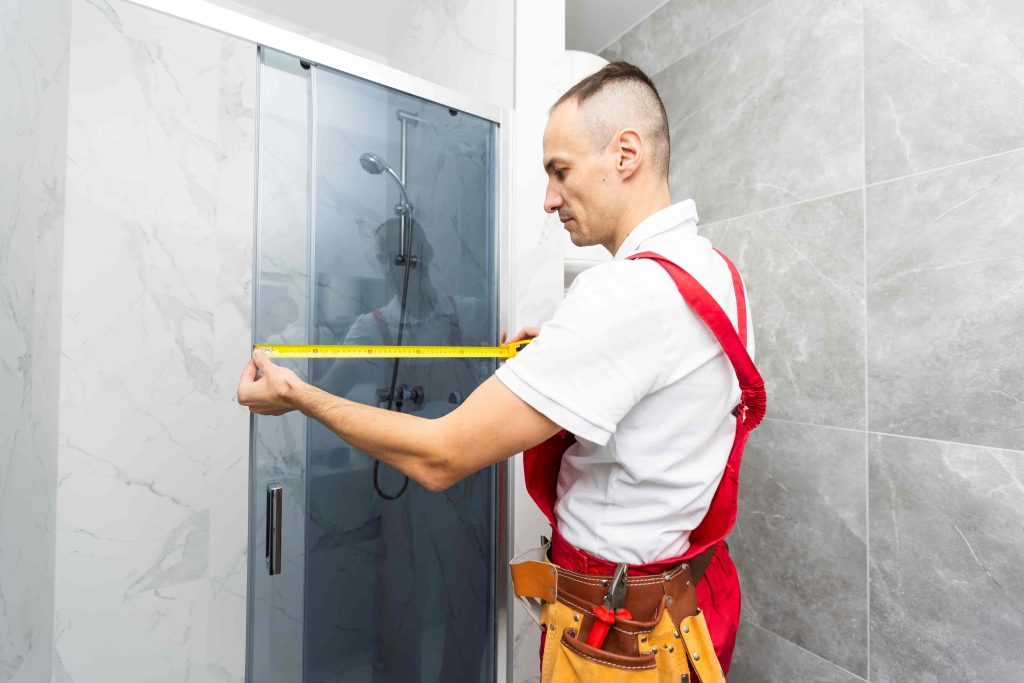
9. Glass Enclosure Installation
Glass is a key design element in walk-in showers. It enhances openness and adds a premium look.
Options include:
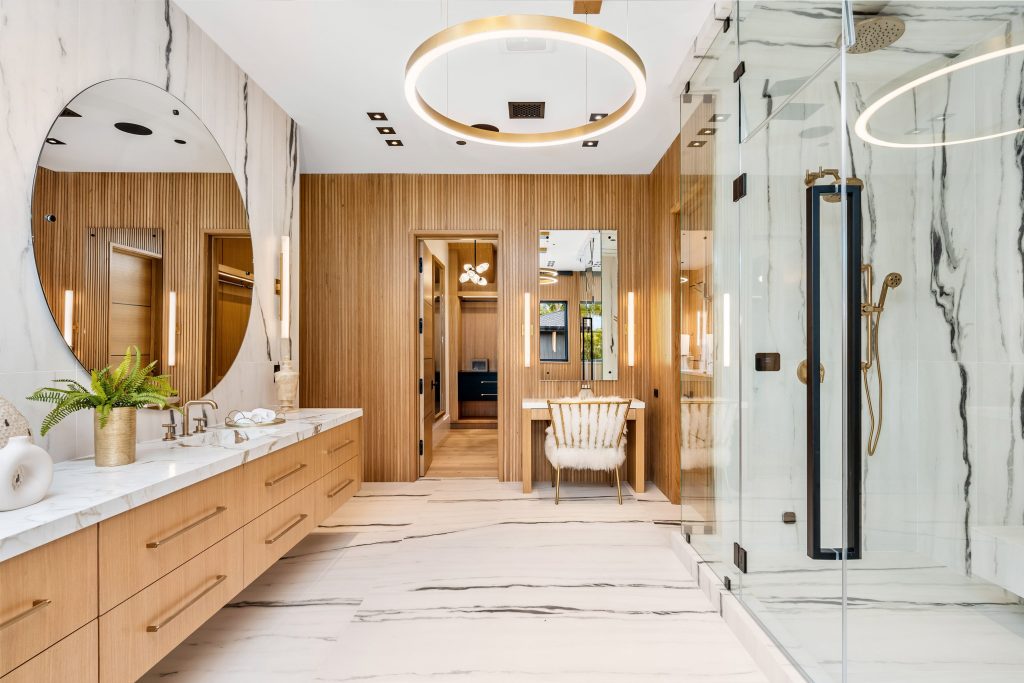
- Frameless glass (most popular for luxury bathrooms)
- Semi-frameless glass
- Framed glass enclosures
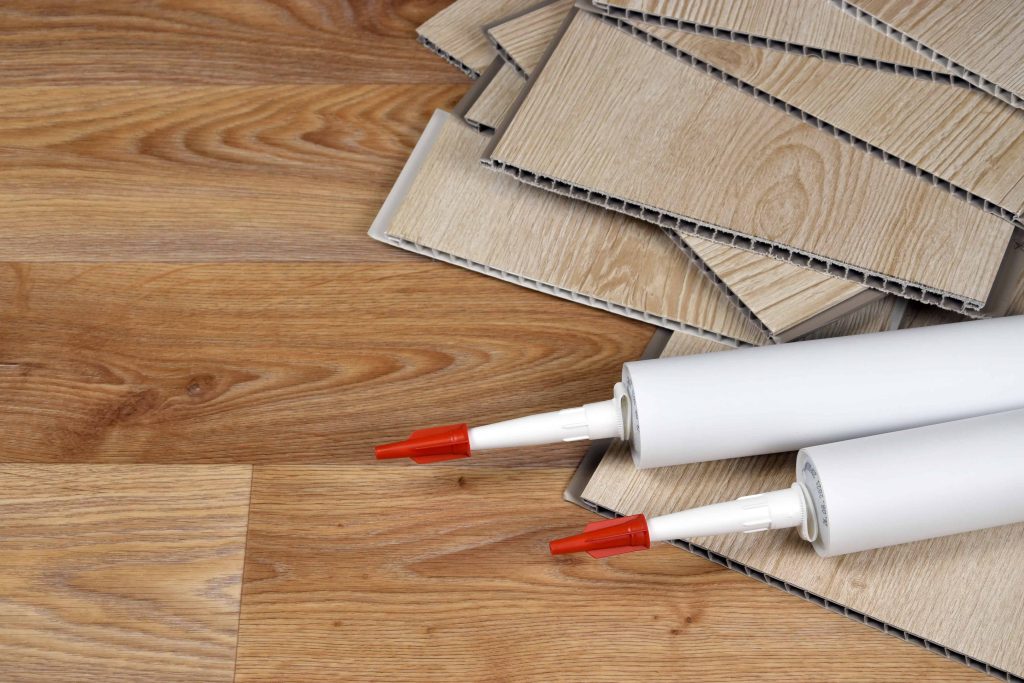
Glass panels must be installed with precision to ensure stability and proper sealing. Silicone sealing is used at edges to prevent leaks.
10. Final Sealing and Finishing Touches
The final step ensures durability and a polished appearance.
Finishing tasks:
- Seal all joints with waterproof silicone
- Check grout lines for gaps
- Install shower shelves or niches
- Test water flow and drainage
A final water test should be performed to confirm there are no leaks or drainage issues.
11. Common Mistakes to Avoid
Homeowners often make avoidable mistakes during installation:
- Skipping waterproofing steps
- Poor floor slope design
- Incorrect drain placement
- Using low-quality grout or sealant
- Improper glass alignment
Avoiding these mistakes ensures a long-lasting and trouble-free shower system.
Final Thoughts
Installing a walk-in shower is one of the best ways to upgrade your bathroom into a modern, functional, and luxurious space. While the process requires careful planning and attention to detail, the results are well worth the effort.
From proper waterproofing and drainage to stylish tile selection and glass enclosures, every step plays a role in creating a durable and beautiful shower.