Installing gutters is one of the most important home improvement tasks for protecting your house from water damage. A properly installed gutter system directs rainwater away from your roof, walls, and foundation, preventing costly repairs in the future. While hiring a professional is always an option, many homeowners choose to install gutters themselves with the right tools and guidance.
This step-by-step guide will walk you through the entire process of gutter installation in a simple and practical way.
Why Proper Gutter Installation Matters
Before getting into the installation process, it’s important to understand why gutters are essential:
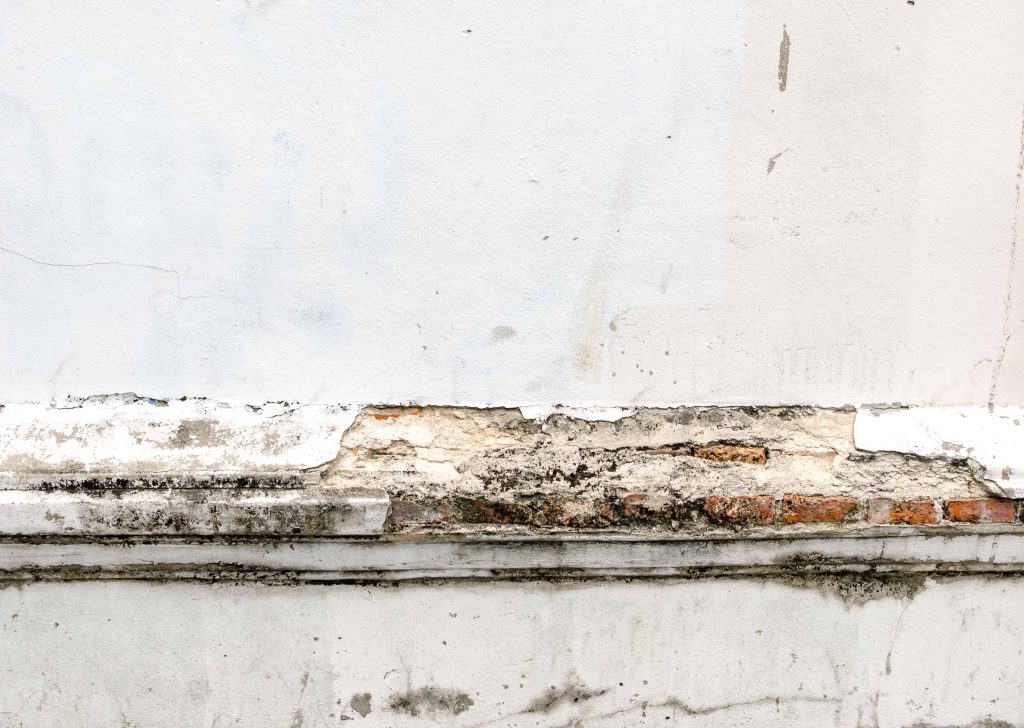
- Protect your home’s foundation from water damage
- Prevent roof leaks and wood rot
- Reduce soil erosion around your house
- Avoid basement flooding
- Preserve siding and exterior walls
A poorly installed gutter system can fail quickly, so accuracy and planning are key.
Tools and Materials You’ll Need
Before starting, gather all necessary tools and materials:
Tools:
- Measuring tape
- Ladder
- Drill and screws
- Level
- Hacksaw or tin snips
- Chalk line
- Sealant gun
Materials:
- Gutter sections (aluminum, vinyl, or steel)
- Downspouts
- Gutter brackets or hangers
- End caps
- Elbows and connectors
- Sealant or gutter glue
Having everything ready will make the installation process smoother and faster.
Step 1: Plan and Measure Your Roofline
Start by carefully measuring the edges of your roof where gutters will be installed.
What to do:
- Measure the total length of all roof edges
- Mark locations for downspouts (usually every 30–40 feet)
- Check the slope direction for proper drainage
A proper slope is critical—gutters should angle slightly toward the downspouts so water flows naturally.
Step 2: Mark the Slope Line
Gutters need a slight downward slope to function correctly.
Standard slope:
- About ¼ inch drop for every 10 feet
How to mark it:
- Use a chalk line to mark the highest and lowest points
- Ensure water will flow toward the downspout location
- Double-check with a level
Incorrect slope is one of the most common installation mistakes.
Step 3: Cut and Prepare Gutter Sections
Once measurements are ready, cut your gutter sections to size.
Instructions:
- Use a hacksaw or tin snips for clean cuts
- Smooth sharp edges to prevent leaks and injuries
- Attach end caps to closed ends of the gutter
If your roofline is long, connect multiple sections using connectors and sealant.
Step 4: Install Gutter Hangers
Gutter hangers support the entire system and keep it attached to your roof.
Installation tips:
- Space hangers every 2–3 feet
- Secure them into the fascia board using screws
- Make sure they follow the slope line
Strong support is essential, especially in areas with heavy rain or snow.
Step 5: Attach the Gutters
Now it’s time to mount the gutters onto the hangers.
Steps:
- Start from the highest point and work toward the downspout
- Secure gutters into each hanger firmly
- Check alignment frequently using a level
- Ensure joints are tightly sealed with gutter sealant
Proper alignment ensures smooth water flow and prevents leaks.
Step 6: Install Downspouts
Downspouts carry water from gutters down to the ground safely.
How to install:
- Cut holes in the gutter where downspouts will connect
- Attach elbows to guide water downward
- Secure downspouts to the wall using brackets
- Extend downspouts away from the foundation
Water should be directed at least 3–5 feet away from your home.
Step 7: Seal All Joints
Sealing is crucial to prevent leaks.
What to do:
- Apply waterproof gutter sealant at all joints and connections
- Seal corners, end caps, and downspout connections
- Let sealant dry completely before testing
Even small gaps can lead to major leaks over time.
Step 8: Test the Gutter System
After installation, test your gutters to ensure everything works properly.
How to test:
- Use a hose to run water through the system
- Check for leaks at all joints
- Observe water flow toward downspouts
- Make sure there is no standing water
If you notice any issues, fix them immediately.
Common Mistakes to Avoid
Even small errors can affect gutter performance. Avoid these common mistakes:
- Installing gutters without proper slope
- Spacing hangers too far apart
- Poor sealing of joints
- Directing downspouts too close to foundation
- Ignoring roof edge alignment
Taking time during installation prevents future repairs.
Maintenance After Installation
Once your gutters are installed, regular maintenance is important:
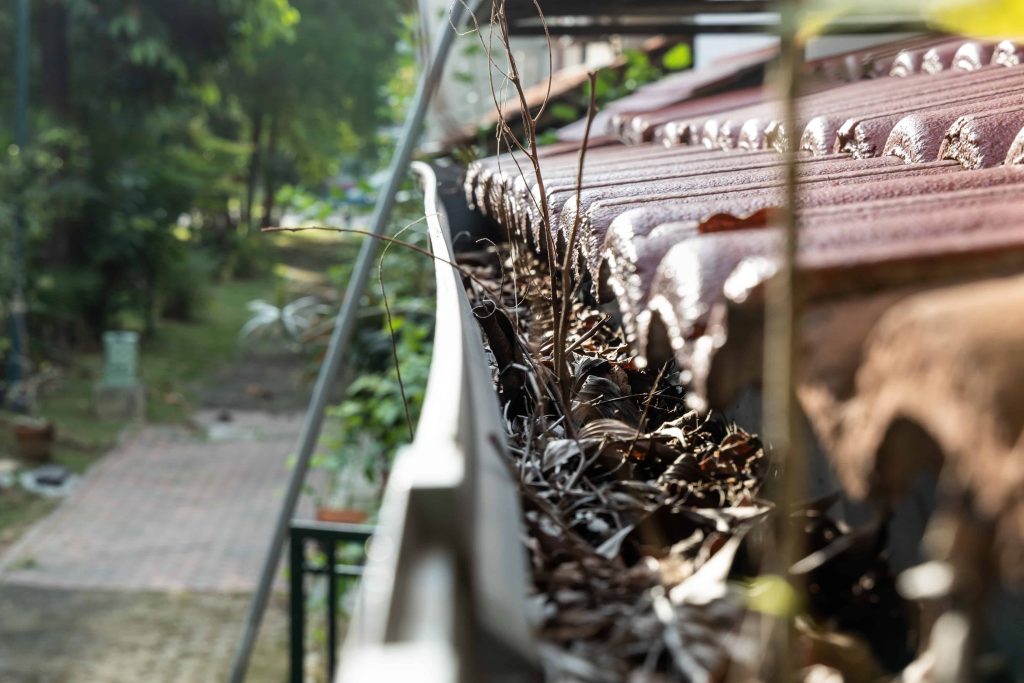
- Clean gutters twice a year
- Remove leaves and debris
- Check for loose brackets
- Inspect for leaks after storms
- Ensure downspouts are not clogged
Proper maintenance extends the life of your gutter system significantly.
Final Thoughts
Installing gutters step by step requires careful planning, precise measurements, and attention to detail. While the process may seem technical, it becomes manageable when broken down into clear stages.
A properly installed gutter system protects your home from water damage, preserves your foundation, and improves long-term durability. Whether you choose DIY installation or professional help, ensuring quality workmanship is key to keeping your home safe and dry for years to come.
 English