

 English






















Step-by-Step Bathroom Upgrade Planning Tips
-
Admin_Renovators / 5 months
- April 10, 2026
- 0
- 4 min read


Upgrading a bathroom is one of the most rewarding home improvement projects you can undertake. A well-planned bathroom renovation not only improves comfort and functionality but also increases the overall value of your home. However, without proper planning, costs can spiral and the process can become stressful. This step-by-step guide will help you plan your bathroom upgrade smoothly from start to finish.
Step 1: Define Your Bathroom Goals
Before starting any renovation, clearly define what you want to achieve. Ask yourself:
- Do you want a modern, luxury bathroom or a simple refresh?
- Are you upgrading for personal use or to increase home value?
- Do you need more storage, better lighting, or improved layout?
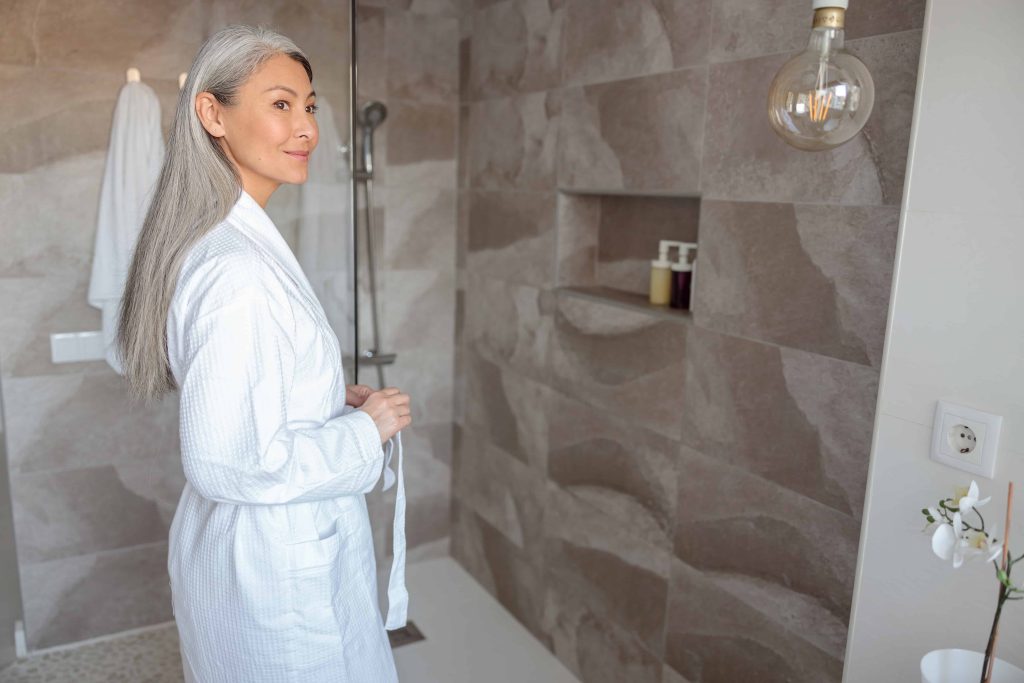
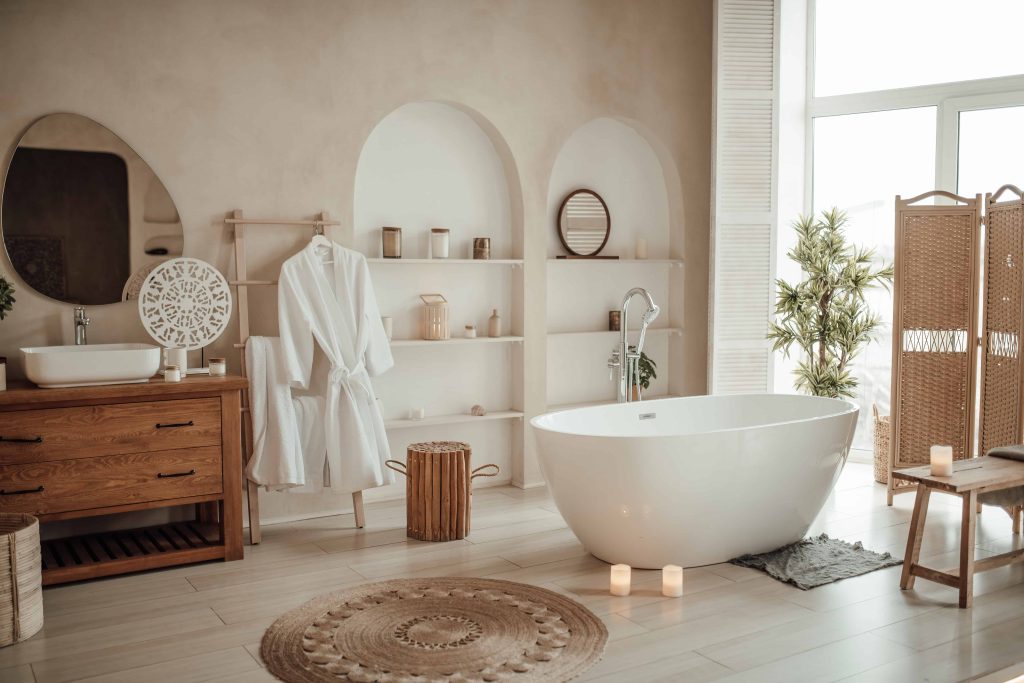
Your goals will guide every decision—from design style to budget allocation. For example, a spa-style bathroom may include a walk-in shower and freestanding tub, while a budget-friendly upgrade may focus on new fixtures and paint.
Step 2: Set a Realistic Budget
Budgeting is one of the most important steps in bathroom planning. Costs can vary widely depending on size, materials, and labor.
Typical budget ranges:
- Small upgrade: $5,000 – $10,000
- Mid-range remodel: $10,000 – $25,000
- High-end renovation: $25,000+
Always set aside an extra 10–15% contingency fund for unexpected expenses such as plumbing issues or structural repairs.
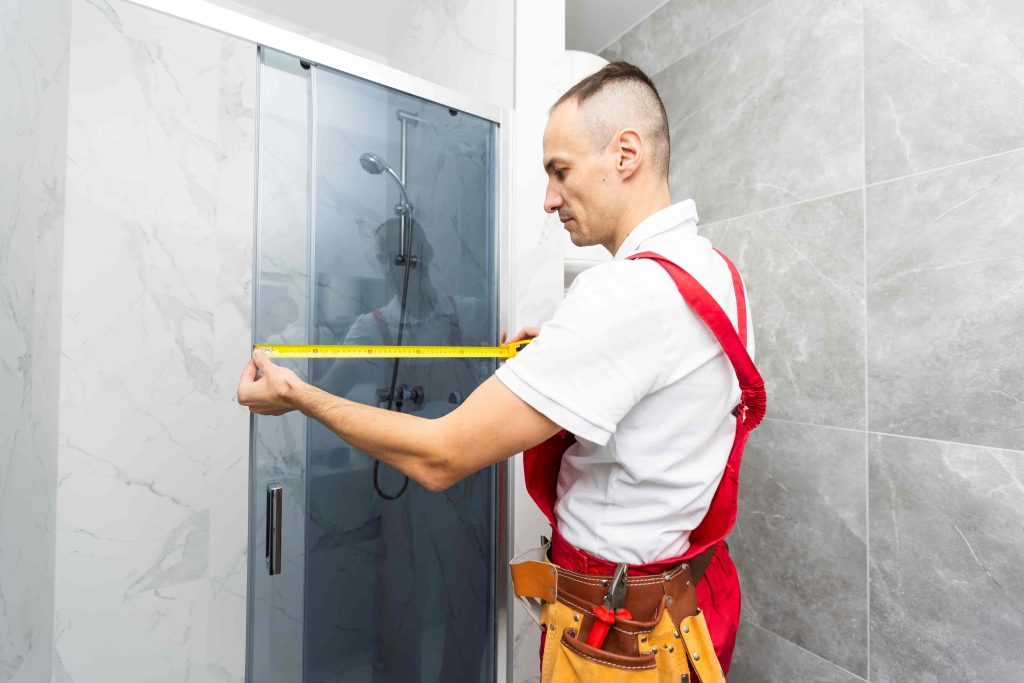
Step 3: Measure Your Space Accurately
Accurate measurements are essential for planning layout and purchasing materials. Measure:
- Length and width of the bathroom
- Ceiling height
- Locations of plumbing lines
- Door and window placement
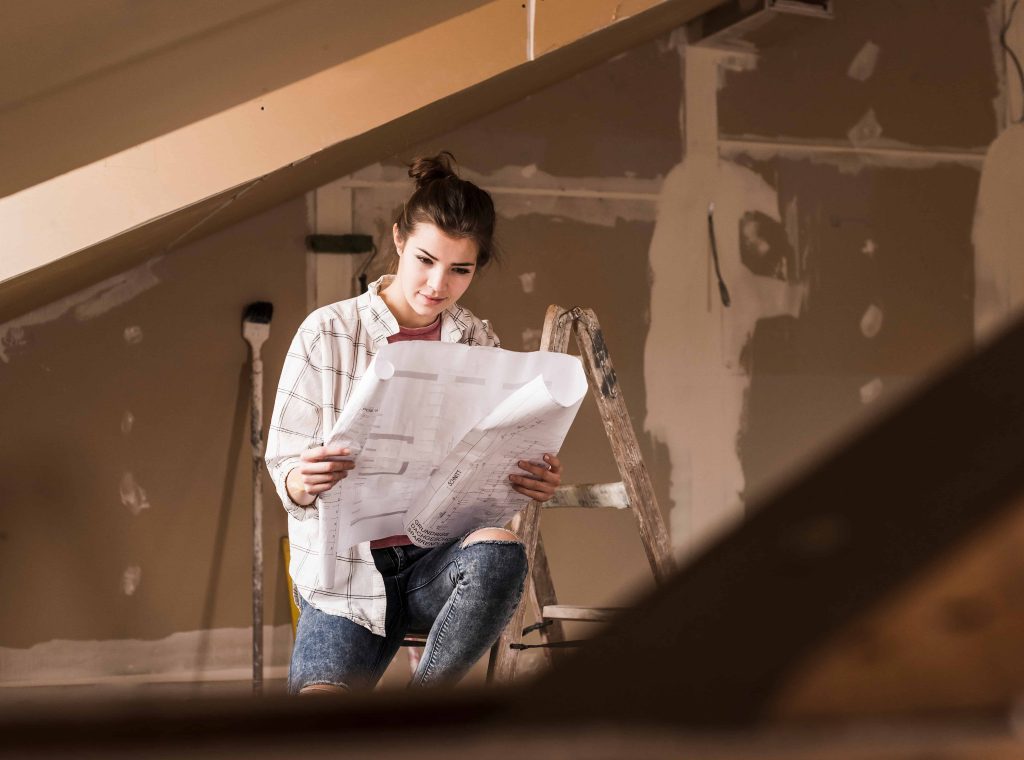
This helps avoid costly mistakes like buying incorrectly sized vanities or tiles. If possible, create a simple floor plan sketch to visualize your space.
Step 4: Choose a Layout That Works
The layout determines how functional your bathroom will be. In most cases, keeping the existing layout is the most cost-effective option because it avoids plumbing changes.
Popular layout options include:
- Three-piece bathroom: toilet, sink, shower
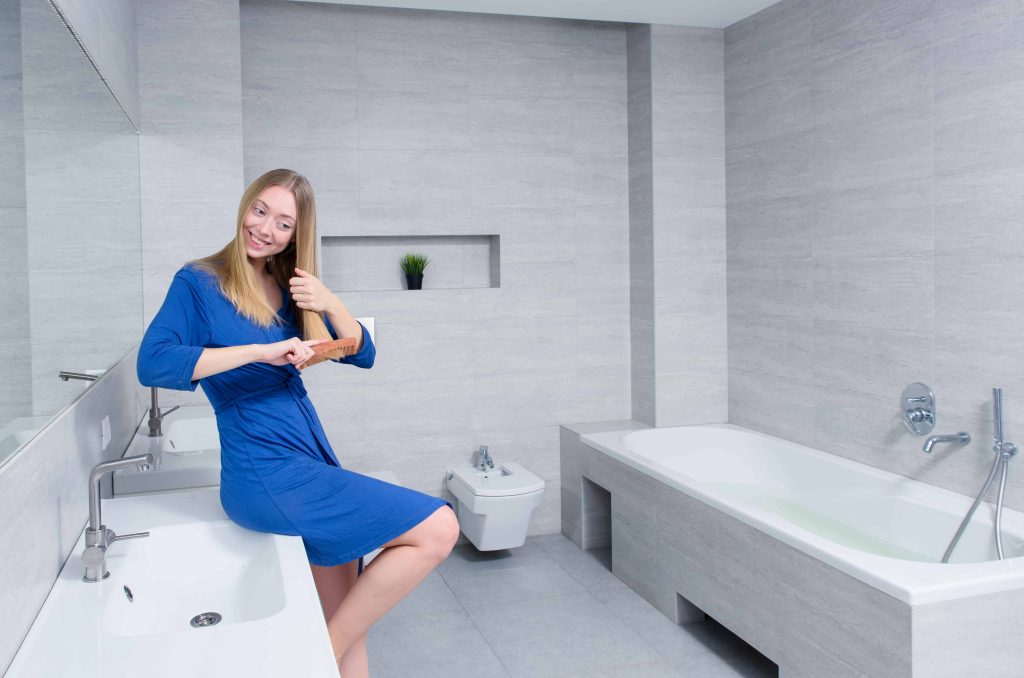
- Four-piece bathroom: toilet, sink, shower, bathtub
- Wet room design: fully waterproof open shower area
If your bathroom feels cramped, consider space-saving solutions like wall-mounted vanities or sliding doors.
Step 5: Select Your Design Style
Your bathroom style should match the rest of your home for a cohesive look. Popular design styles include:
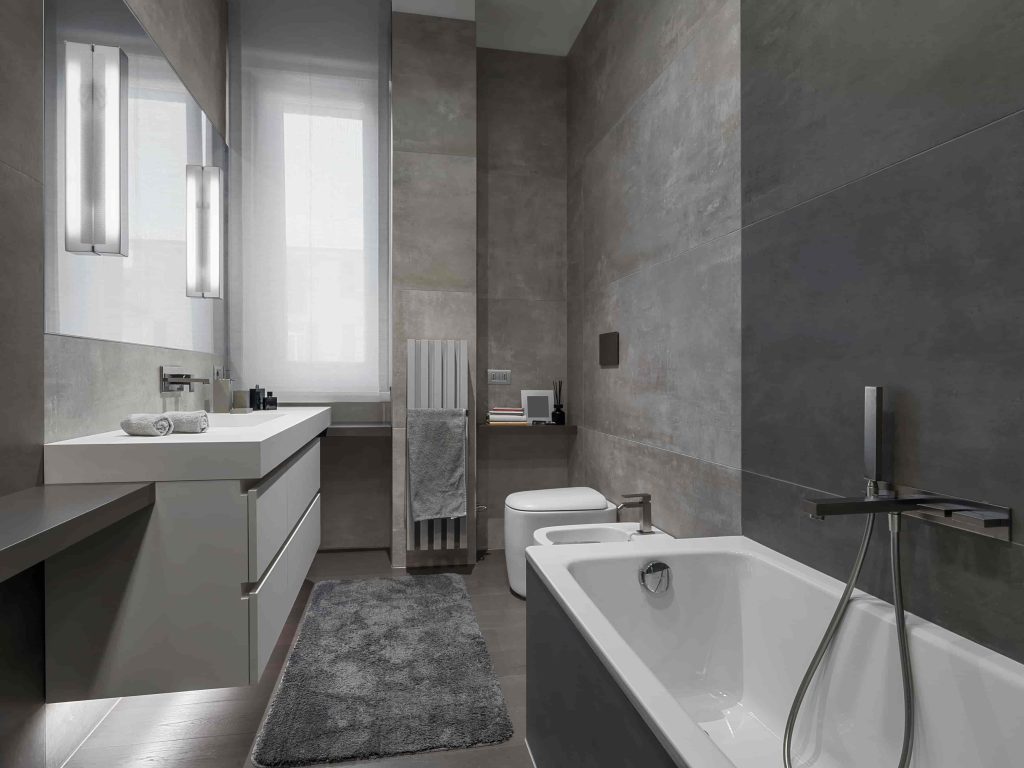
- Modern minimalist (clean lines, neutral colors)
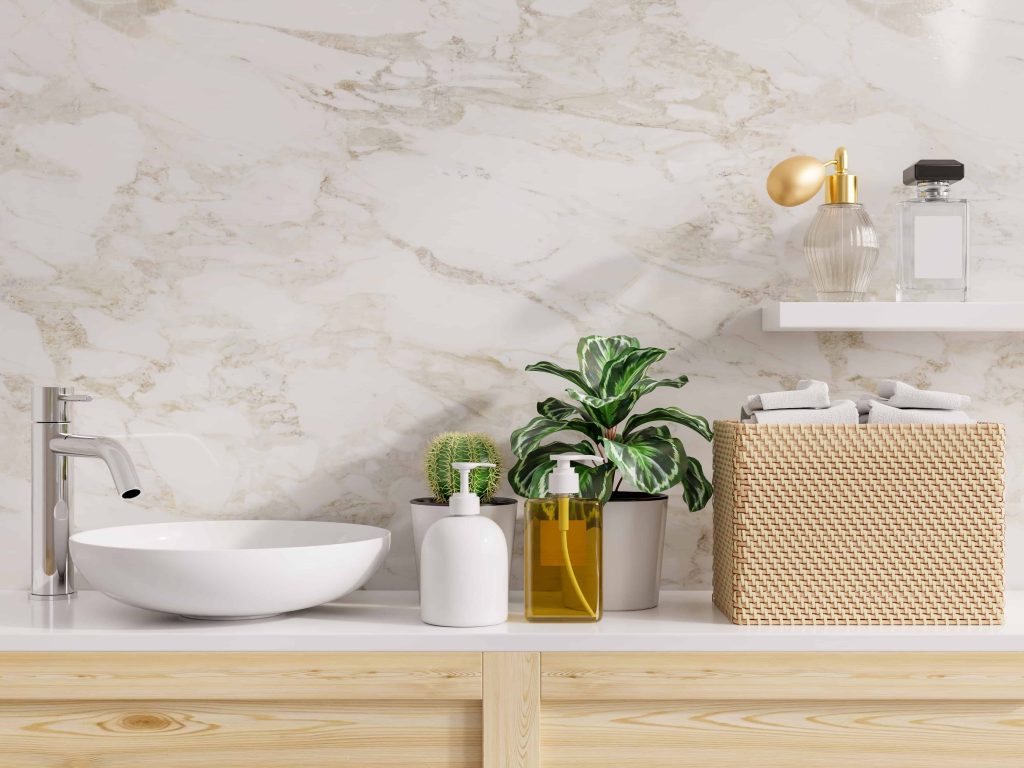
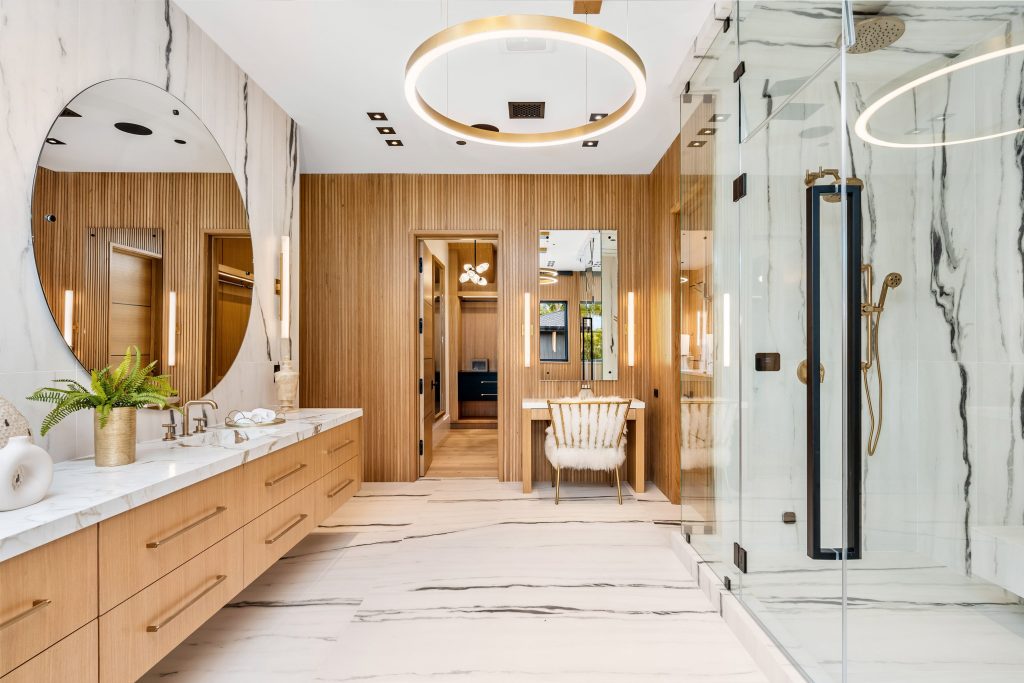
- Luxury spa (marble, soft lighting, soaking tubs)
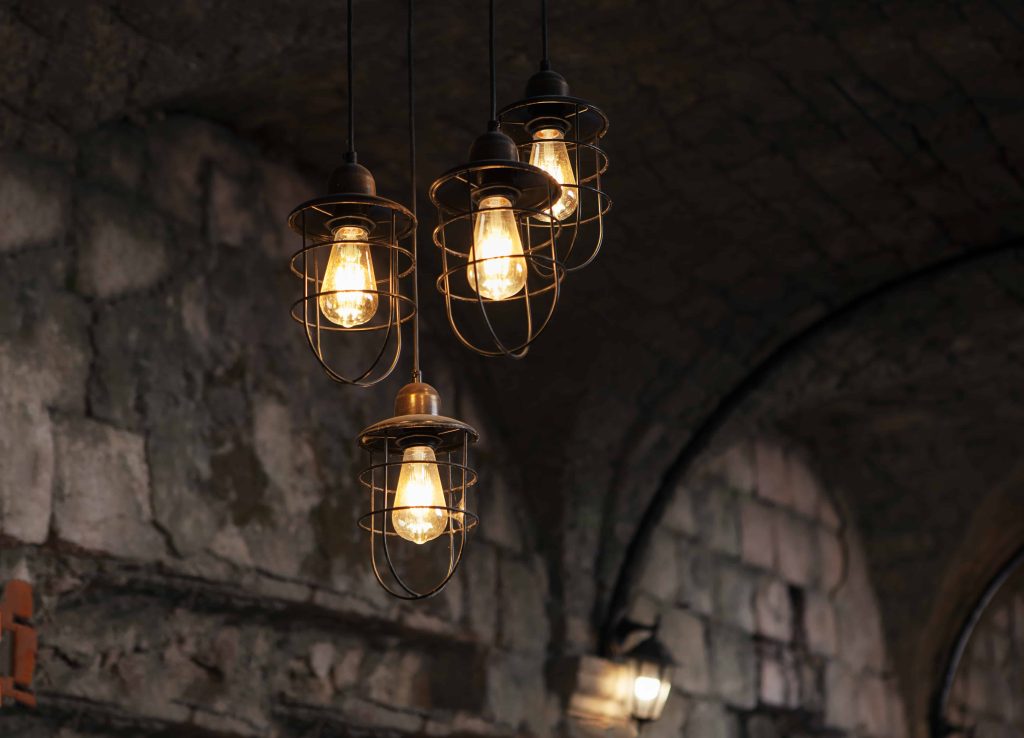
- Industrial (metal finishes, exposed elements)
- Classic traditional (warm tones, detailed cabinetry)
Create a mood board with inspiration images to help guide your design choices.
Step 6: Pick Quality Materials and Fixtures
Material selection plays a huge role in durability and aesthetics. Focus on balancing quality and budget.
Key elements include:
- Flooring: porcelain tiles, ceramic, or natural stone
- Countertops: quartz, granite, or laminate
- Fixtures: faucets, showerheads, and toilets
- Cabinets: custom or pre-built vanities
Always choose water-resistant and low-maintenance materials for long-term durability.
Step 7: Plan Lighting and Ventilation
Lighting and ventilation are often overlooked but essential for a functional bathroom.
Lighting options:
- Ambient lighting (ceiling lights)
- Task lighting (mirror lights)
- Accent lighting (decorative features)
Ventilation is equally important to prevent mold and moisture damage. Install a high-quality exhaust fan or upgrade your existing system if needed.
Step 8: Hire the Right Professionals
Unless you are doing a small DIY upgrade, hiring professionals ensures quality results. Depending on your project, you may need:
- General contractor
- Plumber
- Electrician
- Tile installer
Always:
- Check licenses and insurance
- Read reviews and past work
- Get multiple quotes before deciding
A skilled team can help you avoid costly mistakes and ensure the project stays on schedule.
Step 9: Create a Project Timeline
Bathroom renovations can take anywhere from 1 to 6 weeks depending on complexity. A typical timeline includes:
- Planning and design: 1–2 weeks
- Demolition: 2–4 days
- Plumbing and electrical: 3–7 days
- Tiling and installation: 1–2 weeks
- Finishing touches: 3–5 days
Having a clear timeline helps manage expectations and reduces stress.
Step 10: Prepare for Disruption
Bathroom remodeling can temporarily disrupt your daily routine. Prepare in advance by:
- Setting up an alternative bathroom if possible
- Storing toiletries safely
- Protecting nearby rooms from dust
- Planning for water shutoffs
Good preparation will make the process much smoother.
Final Thoughts
A successful bathroom upgrade is all about careful planning and smart decision-making. From setting a budget to choosing materials and hiring professionals, each step plays an important role in achieving the final result.
When done correctly, your new bathroom will not only look beautiful but also function efficiently for years to come. With a clear plan in place, you can avoid common mistakes, save money, and enjoy a stress-free renovation experience.