

 English





















Step-by-Step Bathroom Shower Remodeling Tips
-
Admin_Renovators / 5 months
- April 15, 2026
- 0
- 4 min read

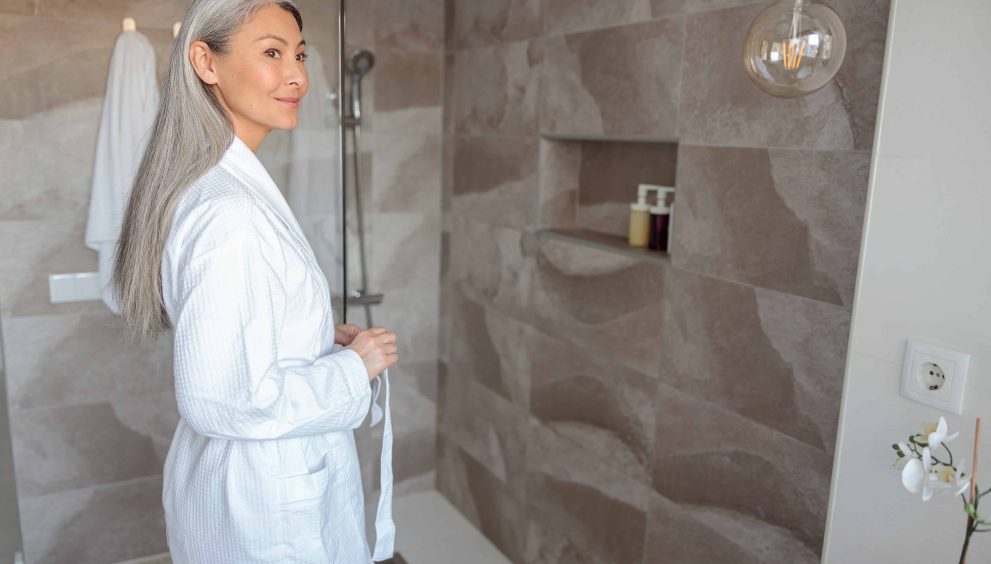
Remodeling your bathroom shower is one of the most effective ways to upgrade both the functionality and appearance of your space. Whether you’re aiming for a modern, spa-like experience or simply improving usability, a well-planned shower remodel can significantly enhance your home’s value and comfort. Here’s a complete step-by-step guide to help you navigate the process smoothly.
1. Plan Your Shower Remodel
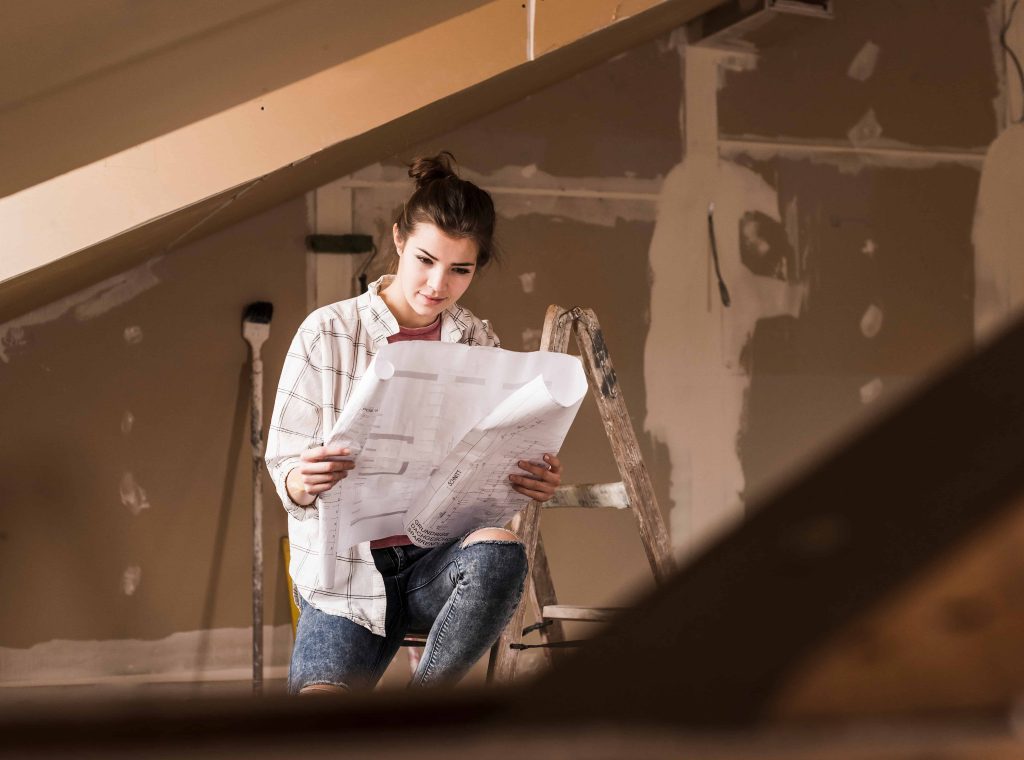
Before starting any physical work, proper planning is essential. Begin by identifying your goals—do you want a luxurious walk-in shower, improved water efficiency, or better accessibility? Set a realistic budget that includes materials, labor, and unexpected expenses.
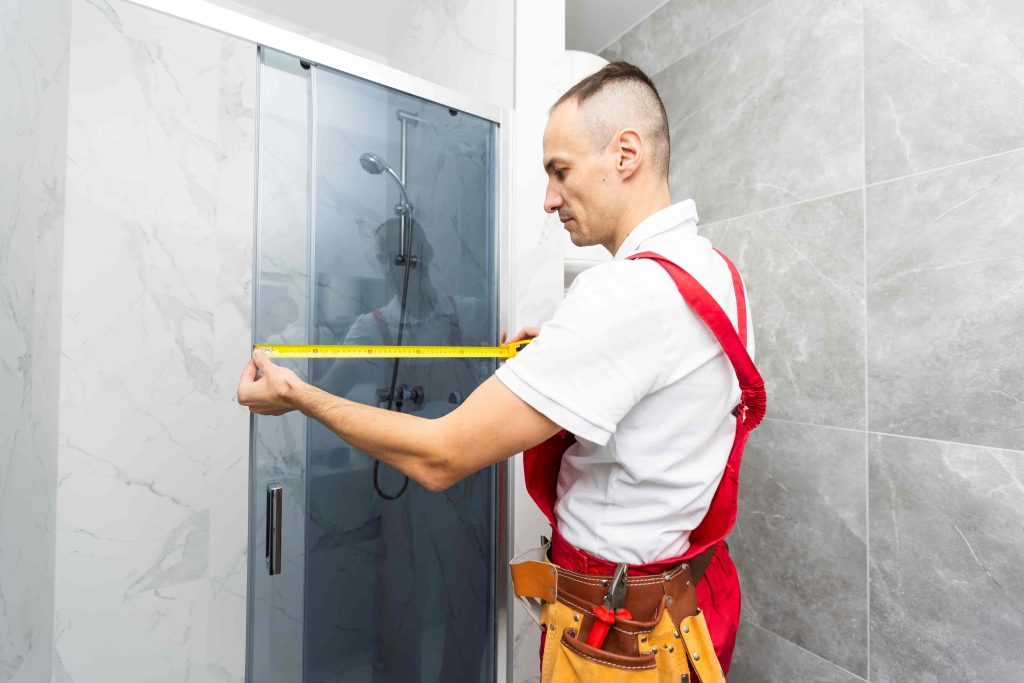
Measure your existing bathroom space carefully and decide whether you’ll keep the same layout or make structural changes. Keeping plumbing in the same location can save significant costs.
2. Choose the Right Shower Design
Your shower design should align with both your aesthetic preferences and functional needs. Some popular options include:
- Walk-in showers with glass enclosures
- Tub-to-shower conversions
- Corner showers for compact bathrooms
- Barrier-free showers for accessibility
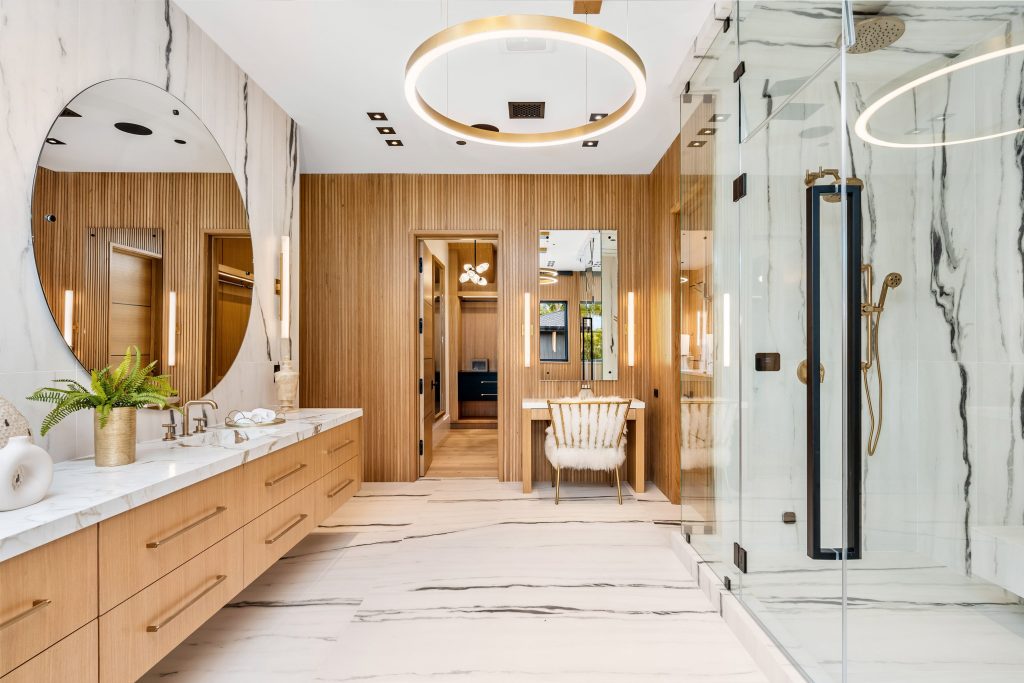
Also, decide on features like built-in niches, benches, or rainfall showerheads. These elements can elevate both comfort and usability.
3. Select Quality Materials
Choosing the right materials is crucial for durability and style. Consider:
- Tiles: Ceramic, porcelain, or natural stone
- Shower base: Acrylic, fiberglass, or custom tile
- Walls: Waterproof panels or tile systems
- Fixtures: Stainless steel or brushed nickel for longevity
Make sure all materials are water-resistant and easy to maintain. Investing in high-quality materials now can prevent costly repairs later.
4. Demolition and Preparation
Once everything is planned and materials are ready, begin by removing the old shower components. This includes tiles, fixtures, and possibly drywall. Be careful during demolition to avoid damaging plumbing or electrical systems.
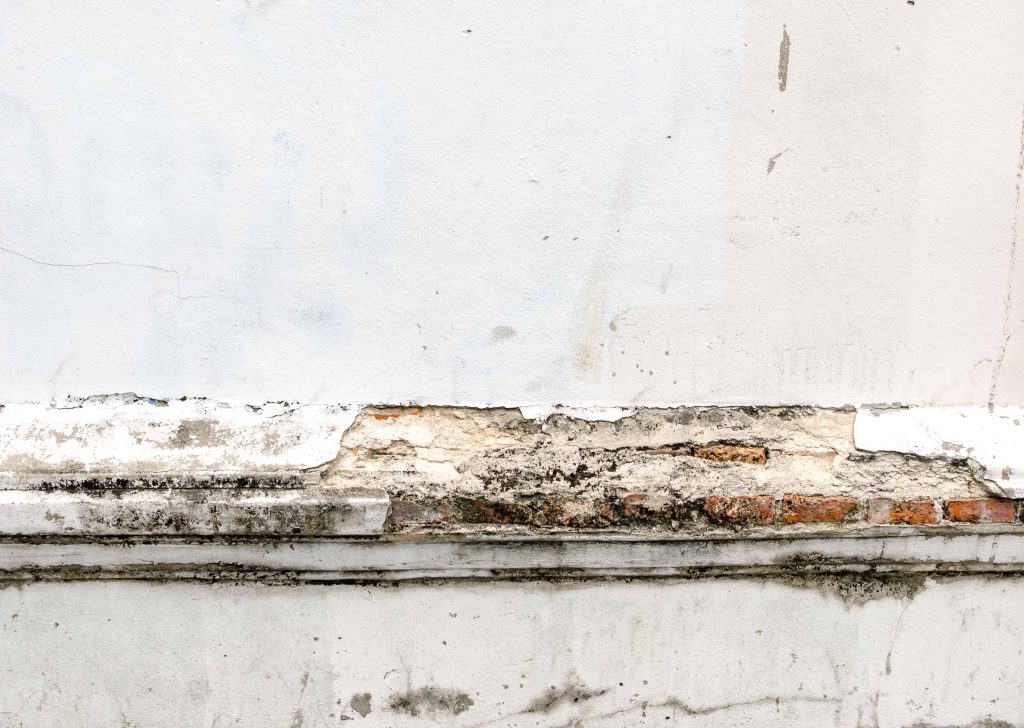
After demolition, inspect the area for mold, water damage, or structural issues. Address these problems before moving forward to ensure a solid foundation.
5. Update Plumbing and Electrical Work
If your remodel involves new fixtures or a layout change, this is the stage where plumbing and electrical adjustments are made. You may need to:
- Reposition pipes
- Install new shower valves
- Upgrade water pressure systems
- Add lighting or ventilation
It’s highly recommended to hire licensed professionals for this step to ensure safety and compliance with local building codes.
6. Install Waterproofing System
Waterproofing is one of the most critical steps in a shower remodel. Without proper waterproofing, water can seep into walls and floors, causing long-term damage.
Install a waterproof membrane on the walls and floor before tiling. Pay special attention to corners, joints, and seams where leaks are most likely to occur.
7. Install Shower Base and Walls
Next, install the shower base or pan. Ensure it is level and properly sealed. Once the base is in place, move on to wall installation.
If you’re using tiles, apply them carefully with proper spacing and alignment. Use high-quality grout and sealant to prevent water penetration. For wall panels, follow manufacturer instructions for a secure fit.
8. Add Fixtures and Features
Now it’s time to install shower fixtures such as:
- Showerhead
- Faucets and controls
- Handheld sprayers
- Glass doors or curtains
Make sure everything is tightly fitted and properly sealed. This is also when you can install additional features like shelves, niches, or seating.
9. Final Sealing and Finishing Touches
Apply sealant around all edges, joints, and fixtures to ensure complete waterproofing. Clean the area thoroughly and check for any leaks or loose fittings.
Add finishing touches like towel bars, hooks, and decorative elements to enhance the overall look of your bathroom.
10. Test and Inspect
Before considering the project complete, test your shower thoroughly. Turn on the water and check:
- Water pressure and temperature control
- Drainage efficiency
- Any signs of leaks
Fix any minor issues immediately to avoid future complications.
Conclusion
A bathroom shower remodel may seem like a complex project, but breaking it down into clear steps makes the process manageable and rewarding. From planning and material selection to installation and finishing, each stage plays a vital role in achieving a successful outcome.
With the right approach, you can transform your shower into a beautiful, functional space that enhances your daily routine and adds value to your home.