

 English




















Interior Painting Tips for a Professional Look
-
Admin_Renovators / 5 months
- April 16, 2026
- 0
- 5 min read

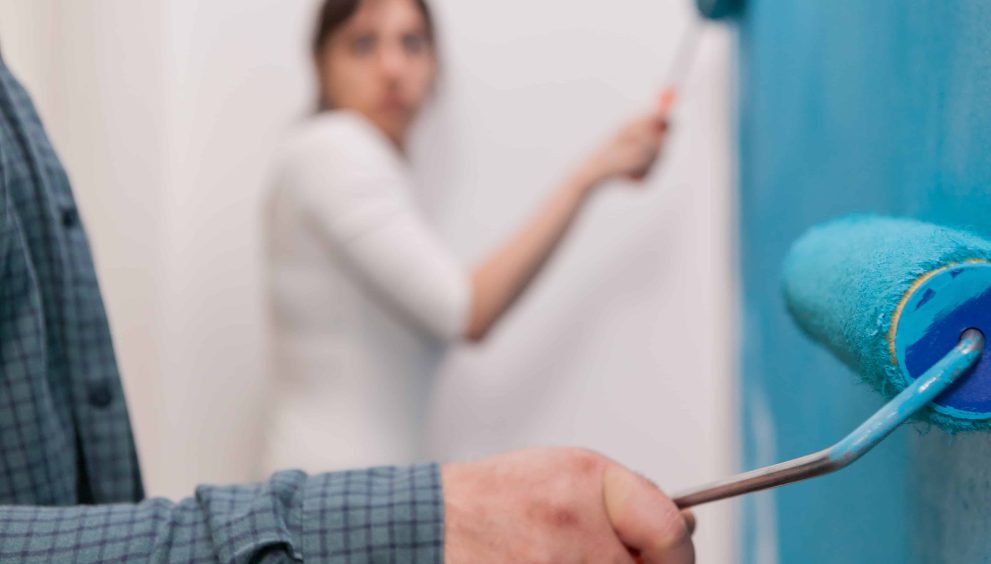
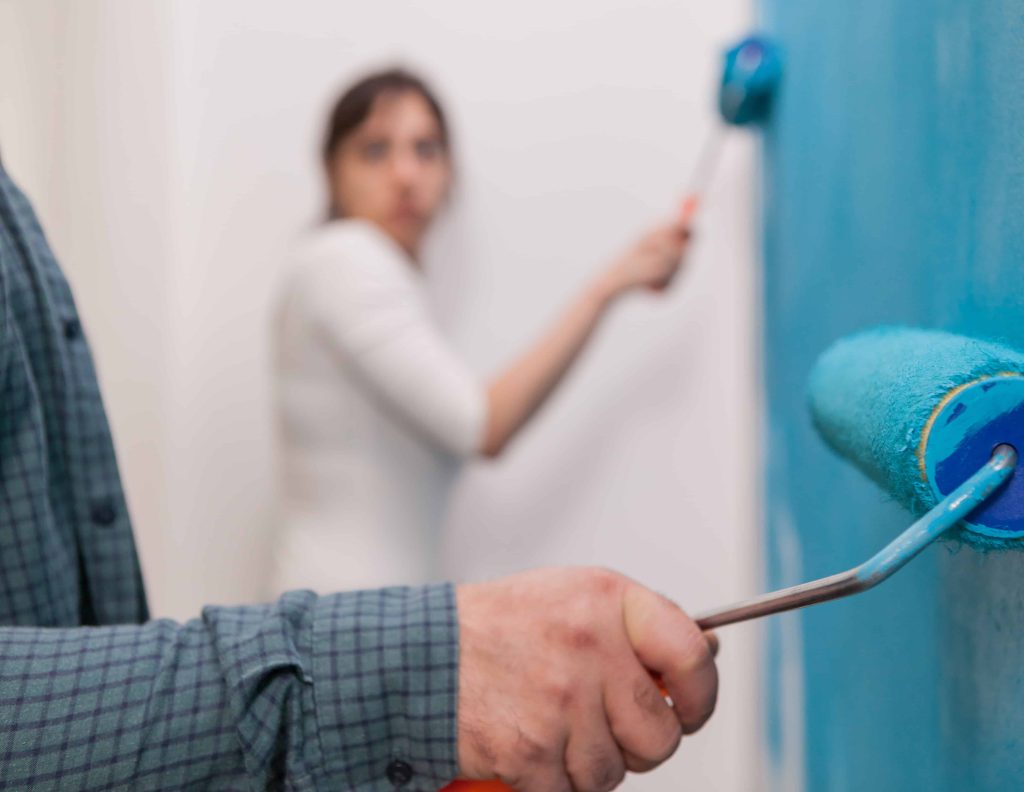
Painting your home’s interior may seem simple, but achieving a truly professional finish requires more than just picking a color and rolling paint onto walls. The difference between a DIY job and a polished, high-end result lies in preparation, technique, tools, and attention to detail.
Whether you’re refreshing a single room or repainting your entire home, these interior painting tips will help you achieve a smooth, clean, and professional-looking finish.
1. Start with Proper Surface Preparation
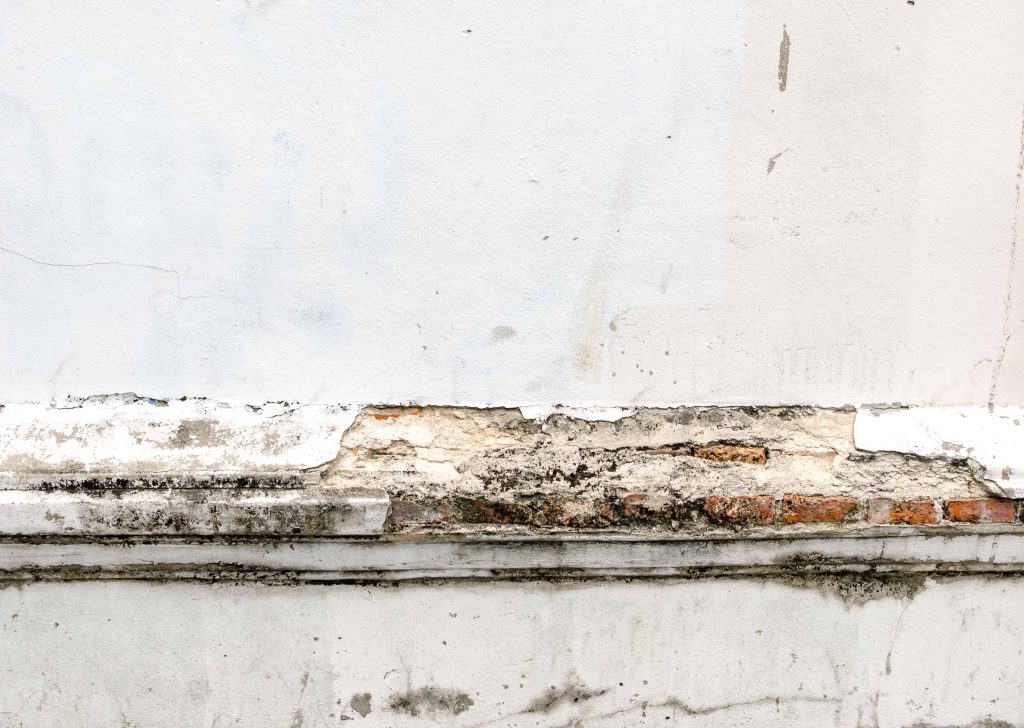
Preparation is the most important step in painting. Even the best paint will look uneven if the surface is not properly prepared.
Key steps:
- Clean walls to remove dust, grease, and stains
- Fill holes, cracks, and dents with spackle or filler
- Sand rough areas for a smooth surface
- Remove peeling or old flaking paint
A clean, smooth surface ensures paint adheres properly and looks even once dry.
2. Use High-Quality Paint and Tools
Professional painters always invest in good materials because they directly impact the final result.
What to choose:
- High-quality interior paint (better coverage and durability)
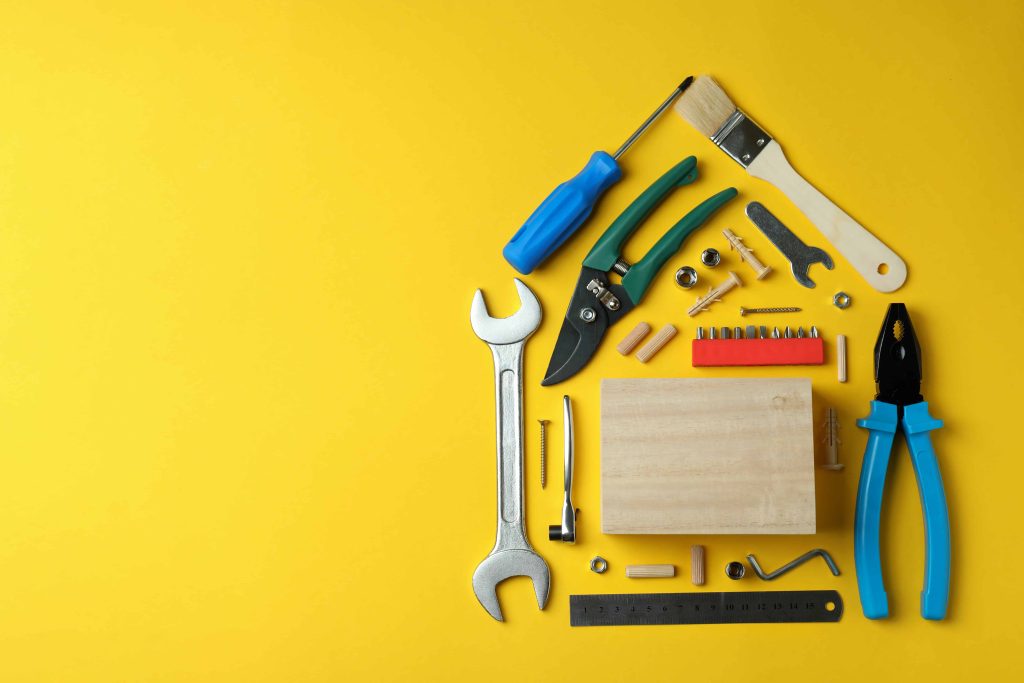
- Premium brushes and rollers
- Painter’s tape for clean edges
- A sturdy paint tray and extension pole
Cheap tools often leave streaks, uneven coverage, and visible brush marks.
3. Choose the Right Paint Finish
Paint finish affects both appearance and maintenance.
Common options:
- Matte: smooth, non-reflective, modern look
- Eggshell: slight sheen, easy to clean
- Satin: durable and ideal for high-traffic areas
- Semi-gloss: shiny and highly washable
Tip:
Use matte or eggshell in living spaces and satin or semi-gloss in kitchens and bathrooms.
4. Always Apply a Primer
Primer is often skipped, but it plays a major role in achieving a professional finish.
Benefits of primer:
- Improves paint adhesion
- Covers stains and dark colors
- Reduces number of paint coats needed
- Creates an even base for color
Primer is especially important when painting over dark walls or new drywall.
5. Tape and Protect Edges Carefully
Clean edges are what separate professional work from amateur painting.
How to do it:
- Use high-quality painter’s tape on trim, ceilings, and corners
- Press tape firmly to prevent paint bleeding
- Cover floors and furniture with drop cloths
- Remove tape while paint is slightly dry for clean lines
Taking time with taping ensures sharp, crisp edges.
6. Use the “Cut-In” Technique
Cutting in means painting edges and corners before using a roller.
Steps:
- Use a small angled brush
- Paint along edges of ceilings, corners, and trims
- Work in sections before rolling
This technique helps blend brushwork with rolled paint for a seamless look.
7. Apply Paint in Thin, Even Coats
One of the most common mistakes is applying too much paint at once.
Best practice:
- Apply 2–3 thin coats instead of one thick coat
- Allow proper drying time between coats
- Use consistent pressure when rolling
Thin coats reduce streaks, drips, and uneven textures.
8. Maintain a “W” Rolling Pattern
Professional painters use a specific technique for even coverage.
How it works:
- Roll paint in a “W” or “M” shape
- Fill in the gaps without lifting the roller
- Work in small sections at a time
This ensures smooth blending and prevents visible roller marks.
9. Pay Attention to Lighting
Lighting can reveal imperfections that are not visible during painting.
Tips:
- Paint during daylight whenever possible
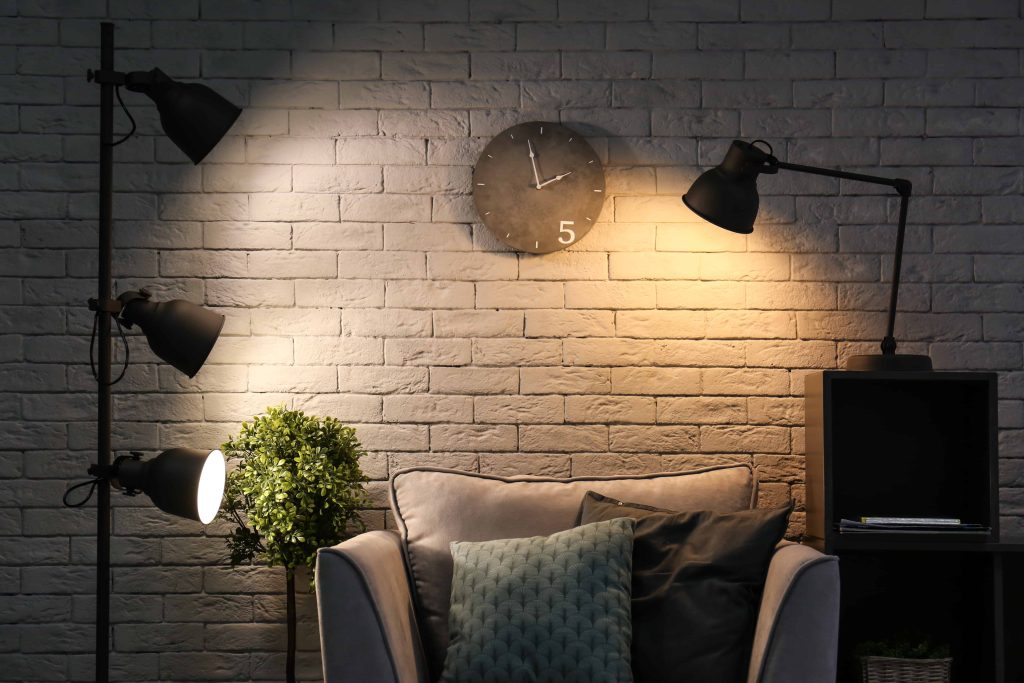
- Use multiple light sources in the room
- Check walls from different angles while painting
Good lighting helps you catch streaks, missed spots, or uneven coverage early.
10. Keep a Wet Edge
Maintaining a wet edge prevents lap marks and uneven texture.
How to do it:
- Work quickly in small sections
- Do not let paint dry before overlapping areas
- Always blend fresh paint into wet paint
This technique is essential for a smooth, professional finish.
11. Remove Tape at the Right Time
Timing is important when removing painter’s tape.
Best method:
- Remove tape when paint is slightly tacky, not fully dry
- Pull slowly at a 45-degree angle
- Avoid tearing dried paint edges
This creates clean, sharp lines without peeling paint.
12. Don’t Rush Drying Time
Drying time is often underestimated but critical for durability.
Tips:
- Follow manufacturer’s drying instructions
- Avoid applying second coat too early
- Keep room ventilated for proper curing
Rushing this step can ruin an otherwise perfect paint job.
13. Touch Up Carefully
Even professionals do small touch-ups after painting.
How to do it:
- Use a small brush for minor corrections
- Blend edges gently into surrounding paint
- Avoid overworking the same area
Subtle touch-ups improve overall finish quality.
14. Clean Tools Properly
Proper cleaning ensures your tools last longer and perform better.
Tips:
- Wash brushes and rollers immediately after use
- Use warm water for water-based paints
- Store tools in a clean, dry place
Good tools make future painting projects easier and more professional.
Final Thoughts
Achieving a professional interior paint finish is all about preparation, patience, and precision. From surface preparation and priming to careful rolling techniques and proper drying time, every step matters.
By following these interior painting tips, you can transform your home into a space that looks polished, modern, and professionally finished—without necessarily hiring a contractor.
A well-done paint job not only enhances your home’s beauty but also increases its long-term value and comfort.